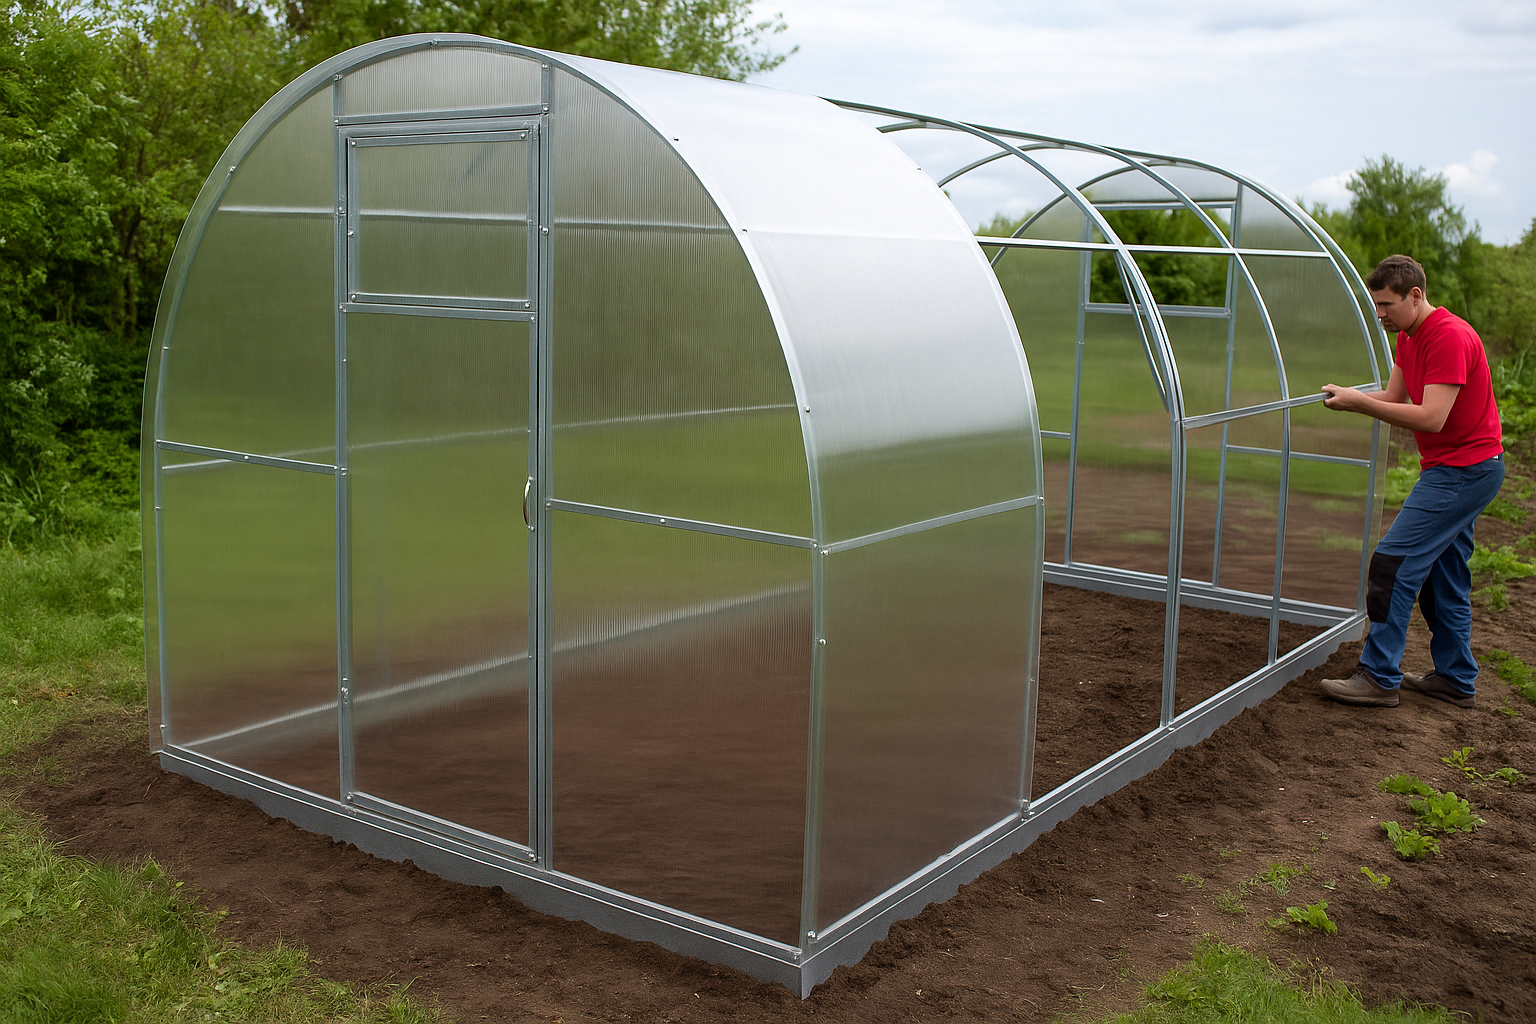
How to install a garden greenhouse step by step (clear and practical guide)
Putting up a greenhouse is a bit like pitching a tent… but on an XXL scale, with bolts, polycarbonate panels, and one far more tempting reward: harvesting tomatoes earlier than your neighbors and growing basil even when it’s freezing outside.
But before you picture your lettuces safe from spring showers or your seedlings thriving in cozy warmth, there are a few essential steps. Don’t worry—it’s nothing rocket-scientific. You don’t need to be an engineer, just a bit organized, patient, and willing to handle a screwdriver and a level. Let’s walk through it step by step, with a few tips and a smile, so that setting up your greenhouse feels more like a fun project than a headache.
Preparing the Ground Before Installation
A sturdy, long-lasting greenhouse always starts with a solid foundation. Think of it like building a house: if the base is shaky, don’t count on it lasting.
Choosing the right location
- Sunlight is life. Place your greenhouse in a sunny spot, ideally facing south or southeast. Plants love that morning sun—it warms the soil and air quickly.
- Mind the wind. Avoid drafty corridors, or install hedges/windbreaks. A greenhouse landing in your neighbor’s field might be funny once—but only once.
- Close to water. You’ll be watering. A lot. Picture hauling ten 10-liter watering cans every day. Great for your biceps, less so for your sanity. A nearby water source is a true luxury.
- Watch out for floods. Skip low-lying areas. A greenhouse that doubles as a paddling pool after a storm loses its charm fast.
Leveling the ground
Flat ground is non-negotiable. Grab a level, and if needed, a shovel to even things out. A tilted greenhouse isn’t just ugly—it stresses the frame (and your nerves).
- On soft soil → plan for foundations (concrete piers, slab, or timber/steel frame).
- On hard soil → make sure fixings can anchor properly.
- Drainage → dig shallow trenches or add gravel if water tends to pool. Plants hate wet feet as much as you do.
Assembling the Greenhouse Structure
Done with the groundwork? Congrats—you’ve already handled half the job. Now comes the “adult Lego” part.
Check materials and tools first
Lay everything out before you start. Yes, that instruction manual everyone ignores—this is the one time you’ll be glad you looked at it.
- Tools: screwdriver, wrench, drill/driver, hammer, level.
- Safety gear: gloves and goggles (because polycarbonate shards in your eye will ruin your day).
- Bonus tip: rope in a friend or neighbor. It’s doable solo, but like tango, much smoother with a partner.
Step-by-step assembly
- Base: fix it straight and level. It’s the skeleton of your greenhouse. Get it wrong here, and everything else goes wonky.
- Frame: put up arches or uprights, then reinforce with crossbars. This is when you’ll wish you had that extra pair of hands.
- Covering: glass, polycarbonate, or plastic sheeting—whatever the material, secure it tightly and make it watertight. If using sheeting, stretch it properly; otherwise it will flap like a sail in the wind.
Anchoring to the ground
- For tunnel greenhouses → drive the arches deep or use strong metal stakes.
- For glass or polycarbonate → go with concrete foundations or heavy-duty fixings.
Remember: a well-anchored greenhouse weathers storms. A poorly anchored one sometimes doubles as an “improvised glider.”
Outfitting and Organizing the Greenhouse
Your greenhouse is standing—well done! Now comes the fun part: making it functional.
Ventilation and light
Greenhouses are brilliant for heat… sometimes too brilliant. Come summer, they can turn into full-blown saunas.
- Install windows or vents (some even open automatically with heat—magic).
- Position the greenhouse to capture maximum light without roasting your plants.
Layout inside
Keep it practical—you don’t want gardening to feel like an obstacle course.
- Paths: leave walkways so you can move without trampling plants.
- Benches and shelves: great for seedlings and small pots.
- Raised beds or planters: make the most of vertical space.
Irrigation and extras
- Drip irrigation: your best friend—efficient, water-saving, and keeps soil evenly moist.
- Rainwater collection: connect a barrel to the greenhouse—eco-friendly and convenient.
- Shade cloths: lifesavers on scorching days, sparing your lettuces from heatstroke.
Common Mistakes (and How to Dodge Them)
- Not anchoring properly: hello, kite greenhouse.
- Ignoring shade and ventilation: tomatoes roasted… on the vine.
- Placing it too far from water: daily watering becomes a marathon with a can.
- Skipping the rules: some towns require permits for larger structures. Better check before you build a “Crystal Palace” in the backyard.
Conclusion
Building a garden greenhouse is exciting—yes, a bit daunting—but once it’s up, it becomes an extension of your vegetable patch: a place where plants thrive, where you experiment, and where harvests feel extra rewarding.
In short:
- Pick the right spot (sun, flat ground, easy water access).
- Assemble carefully and anchor securely.
- Equip and organize it for both plant comfort and gardener convenience.
A well-installed greenhouse means longer, richer harvests—and maybe a smug smile when your neighbors spot you still picking tomatoes in October.