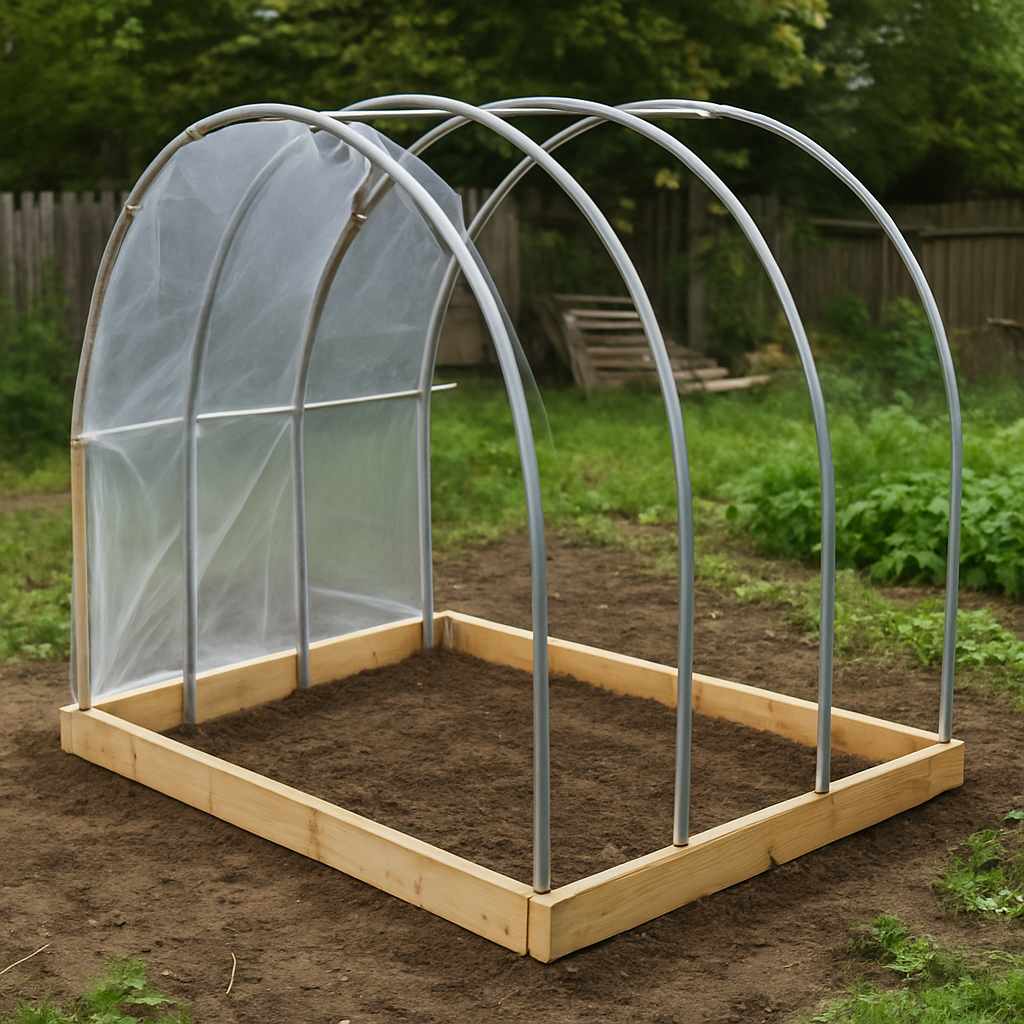
Build a DIY garden greenhouse without breaking the bank
You’ve browsed ready-made greenhouses at the store and… nearly fainted at the price tag? Don’t panic! There’s another way: the DIY greenhouse. Yes, you can build your very own little plant palace—no architecture degree required.
The goal isn’t just to save money, but to create a greenhouse that reflects your needs (and maybe even your personality). And let’s be honest: nothing beats the satisfaction of biting into tomatoes grown inside a structure you built yourself—even if the door creaks a little.
So, let’s go step by step: how to design and build a greenhouse without draining your savings, using smart materials, a bit of salvage, and a whole lot of good vibes.
Plan Before You Build
Before grabbing your hammer and drill, take a moment to think things through. (Yes, it’s not the fun part, but it will save you from ending up with a greenhouse that takes flight at the first gust of wind.)
Which greenhouse for which purpose?
- Small tunnel greenhouse → perfect for early seedlings and frost protection.
- Medium-sized greenhouse → for tomatoes, cucumbers, and similar crops.
- Large family greenhouse → if you’re aiming for near self-sufficiency… and you’ve got the space.
💡 Pro tip: A well-planned, practical greenhouse beats a giant one that hogs your yard and sits half empty.
Setting a realistic budget
A DIY greenhouse isn’t free, but it can cost two to five times less than a store-bought model. Main cost areas include:
- Structure: wood, metal, or PVC.
- Covering: tarp, polycarbonate panels, or reclaimed windows.
- Foundation: concrete blocks, cinder blocks, or simple anchoring if the soil is stable.
- Fasteners & finishes: nails, screws, hinges, clips, etc.
And don’t forget a little “surprise budget” (because yes, your greenhouse will inevitably demand one unexpected extra—like all of us).
Low-Cost Materials and Tools
The magic of DIY is turning salvage into treasure.
Smart material hacks
- Wood pallets – the kings of budget-friendly projects. Transformed, they make sturdy walls or bases. (Tip: only use untreated wood.)
- PVC pipes – lightweight, flexible, ideal for hoop frames.
- Old windows – found at thrift shops, recycling centers, or salvage yards: affordable, eco-friendly glazing.
- Plastic bottles – unusual but possible! Stacked and fixed, they create translucent, insulating panels.
- Greenhouse-grade plastic film – inexpensive, durable, and lets in plenty of light.
The essential toolbox
Nothing exotic—just the DIY survival kit:
- Saw (for wood or PVC).
- Screwdriver or drill driver (unless you’re ready to build arm muscles with a manual one).
- Hammer, stainless screws and nails.
- Brackets and a level (a crooked greenhouse may amuse your neighbors, but not your plants).
- Zip ties (the unsung heroes of every DIYer).
Step-by-Step Construction
Time to get serious. Don’t worry—this is totally doable, even if the most you’ve built before is an Ikea shelf.
Prep the ground
- Pick the spot: ideally south-facing, flat, sheltered from strong winds.
- Level the soil: shovel, sweat, done.
- Lay a base: concrete blocks, cinder blocks, or a wooden/metal frame to stop your greenhouse from sinking or wobbling.
Build the frame
- Assemble the structure: wood, PVC, or metal, depending on what you’ve chosen.
- Add the roof: gable, sloped, or rounded hoops. (Tip: even a slight slope prevents rain from turning your greenhouse into a paddling pool.)
- Reinforce the corners: strong brackets matter more than prayers when the wind howls.
Add the covering
- Stretch and fix the cover: too loose, it flaps and tears; too tight, it risks splitting. Find the sweet spot.
- Secure it: with clips, staples, or wooden battens screwed in place.
- Install a door and ventilation opening: because a greenhouse without airflow quickly becomes a pressure cooker.
Tips for a Lasting Greenhouse
Regular upkeep
- Clean the panels regularly for maximum light.
- Check fixings after every strong storm.
- Replace the cover if it becomes too fragile (every 3–5 years on average).
Clever add-ons
- Place black-painted water barrels inside → they store heat by day, release it by night. Free heating!
- Mulch the soil → keeps heat and moisture in.
- Add shelves or hanging trays → make the most of vertical space.
And the legal side?
In France:
- Under 5 m² → no paperwork.
- 5–20 m² → usually requires a prior declaration.
- Over 20 m² → building permit needed. (Yes, even for your tomatoes.)
Conclusion
Building a DIY greenhouse on a budget is a lot like cooking from scratch: it takes a bit of time and planning, but the result is far more rewarding.
With a few pallets, a well-secured tarp, a smart location, and a little hands-on effort, you can build a greenhouse that’s sturdy, practical, and perfectly suited to your needs.
So, grab your tools! And remember: a DIY greenhouse isn’t just about saving money—it’s about pride. Every harvest will taste even sweeter when it comes from a greenhouse you built with your own hands.